
Do you have a crusty booster seat in your car?
Do you have a booster seat for a boy, but need a girly one?
Did your child throw up on his booster seat on the way home from Disneyland and then you washed it and then threw it in the dryer, not thinking it would shrink?
Well, I am so excited to introduce you to my very first tutorial!
I had been brainstorming this one for a few weeks and finally just decided I needed to go for it. It ended up being very easy!
Here's what you need:
old booster seat pad
fabric, enough for 2 sides. They can be the same or matchy matchy.
thread to match
First, remove the tabs on the end of the pad by carefully ripping open the seam, don't just cut them off.
Save these, you need them later. Now take that raw edge that you've just made and zigzag it back together.

Lay your fabrics right side together and lay the pad on top of them. Using your pad as the pattern, cut out the shape of the pad, leaving 1/3 inch extra all the way around for your seam allowance. (Remember, I had to add extra length on mine because it shrunk, that's why it looks so much longer than the pad) You could also trace the shape of the pad and (adding the seam allowance) cut it out.
Pin the 2 pieces together and sew 3 sides together leaving the wider end open. Clip the corners and zigzag the raw edges together.
Turn the cover right side out and iron seams. Slide the old cover into place making sure to get it right into place in the corners.
Now remember those holes in the narrow end? You need to secure those and make new holes. I felt with my finger to find where they were and just zigzagged around the hole. Then I made a small slit to secure it back onto the car seat. Sorta like a button hole. See?

You could also do this by hand, but it doesn't need to be perfect, it's not going to show once it's on the base. Sew a topstich on the other side of the holes. This will help relieve some of the tension on those little holes.

Go ahead, try it on and see how it fits. Perfect!
Now grab those tabs you took off the pad and pin them onto the right side of the fabric on one side of the pad .
Now sew them on. Like this:

Flip them over so they stick out of the pad and carefully iron, (so as to not melt your tabs) a 1/3 inch seam allowance toward the wrong side of the fabric.

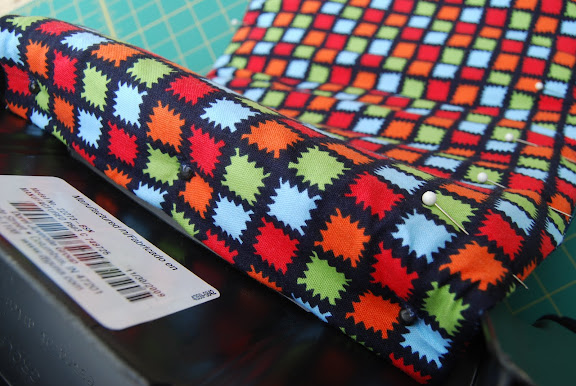
Now pin and sew a topstitch or two (I did two), making sure to secure the edge of the old pad inside* this way if you need to wash it later, it won't get all bunched up inside. And for goodness sakes don't throw it in the dryer. Just let it air dry, trust me!


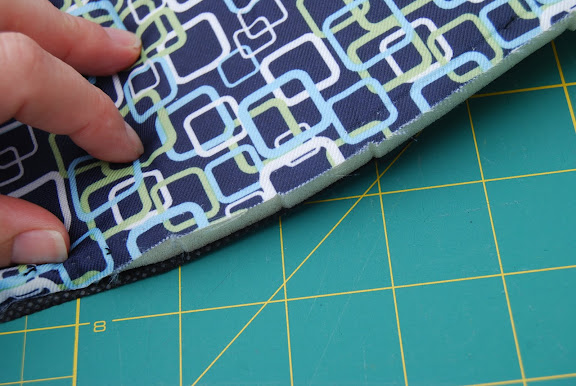
*if you're lengthening the cover, like I was, take your fingers and feel for the edge of the pad inside the new cover. Secure the edge of the pad with pins and sew a line (shown in the next photo) following the edge.
Your feedback is welcome and appreciated, if you happen to notice a mistake or something doesn't make sense, please let me know!


